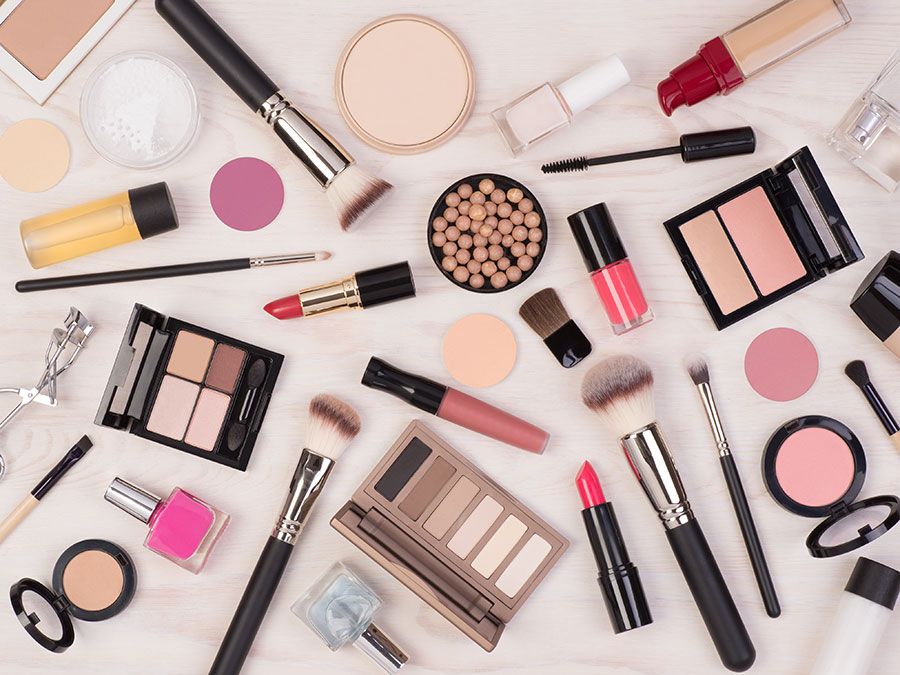
The changing seasons bring with them an opportunity to revamp our makeup routines and experiment with new looks. As temperatures fluctuate and colors shift in nature, our makeup choices can evolve to embrace the beauty of each season. In this article, we will explore how to transition your makeup for different seasons, ensuring that you are always on trend and glowing with confidence.

Preparing Your Skin for Seasonal Changes
One of the most important things to consider when transitioning your makeup for different seasons is your skincare routine. In the colder months, your skin may become drier, so it’s important to use moisturizers and serums that provide hydration. Look for products with ingredients like hyaluronic acid and glycerin to keep your skin looking smooth and supple.
Another key factor in is adjusting your foundation shade to match your skin tone. As your skin can lighten or darken depending on the season, it’s important to find a foundation that complements your complexion. Consider visiting a beauty counter for a professional color match if you’re unsure.
For a fresh and glowing look in the warmer months, opt for lighter makeup products like tinted moisturizers or BB creams. These products provide coverage while allowing your skin to breathe in the heat. Pair this with a swipe of bronzer on the cheeks and a touch of highlighter on the high points of your face for a sun-kissed glow.
Adapting Your Base Makeup Routine
When the seasons change, so should your base makeup routine. Transitioning your makeup for different seasons can help you achieve a flawless look no matter the weather. Here are some tips on how to adapt your base makeup routine:
- Switch up your foundation: In the warmer months, opt for a lighter, dewy foundation to give your skin a fresh and natural look. During the colder months, go for a more hydrating foundation to combat dry skin.
- Adjust your concealer: As the seasons change, so does your skin tone. Make sure to update your concealer shade to match your complexion.
- Use a setting powder: In the summer, a setting powder can help control shine and keep your makeup in place. During the winter, a hydrating setting powder can prevent your skin from looking dry.
Don’t forget to update your primer, blush, and bronzer as well to ensure that your makeup looks seamless and natural all year round.
| Product | Summer | Winter |
|---|---|---|
| Foundation | Light, dewy formula | Hydrating foundation |
| Concealer | Update shade to match complexion | Adjust to new skin tone |
Switching Up Your Lip and Cheek Colors
When it comes to makeup, changing up your lip and cheek colors can make a big impact on your overall look. As the seasons change, it’s important to transition your makeup to match the changing weather and fashion trends. Here are some tips on how to switch up your lip and cheek colors for different seasons:
1. Spring: In the springtime, opt for light, pastel shades for a fresh and youthful look. Soft pinks, peaches, and corals are perfect for this season. Try a creamy blush in a rosy hue and a sheer lip gloss in a subtle pink shade.
2. Summer: When summer rolls around, it’s time to turn up the heat with bold and vibrant colors. Think bright reds, oranges, and hot pinks for a fun and playful vibe. A matte blush in a sun-kissed bronze shade and a bold lipstick in a statement color will elevate your summer makeup game.
3. Fall: During the autumn months, embrace rich and warm tones like deep berries, plums, and burgundies. A matte bronzer in a warm terracotta shade and a dark lipstick in a moody hue will complement your fall wardrobe perfectly.
Adjusting Your Eye Makeup Looks
Transitioning your eye makeup looks for different seasons can be a fun and exciting way to switch up your beauty routine. Whether you’re moving from the warm tones of summer to the cooler hues of fall, or vice versa, there are a few key tips to keep in mind to ensure your makeup looks fresh and on point.
One easy way to adjust your eye makeup for different seasons is to swap out your eyeshadow colors. For summer, opt for bright and vibrant shades like coral, gold, and turquoise to complement your sun-kissed skin. In the fall, consider deeper, richer tones such as burgundy, plum, and copper for a more dramatic look.
Another important factor to consider when transitioning your eye makeup for different seasons is the finish of your eyeshadows. Matte shades are perfect for creating a soft, natural look in the summer, while shimmery and metallic shades can add a touch of glam for the cooler months.
As the seasons change, so should your makeup routine. By following these tips and tricks, you can seamlessly transition your makeup from one season to the next, keeping your look fresh and on-trend all year round. Experiment with different colors and textures to embrace the changing weather, and don’t be afraid to get creative with your makeup looks. Remember, makeup is all about self-expression, so have fun and make each season your own!


